Archive / Test Kitchen

RSS feed for this section

Experiments.

Roasted Chickpeas – Creole Style

This year our family has decided to depart from our traditional Thanksgiving Day fare and instead will be replacing our menu with Louisiana style offerings like Gumbo made with Andouille Sausage. Thankfully, pies will still include Southern favorites like Pecan and Buttermilk (my favorites).

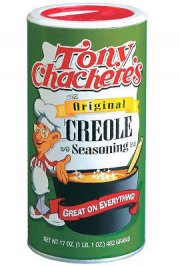
Thinking of items I could contribute that would support the Louisiana theme, and having just recently tried making Roasted Chickpeas, I thought a good snack item to have before the meal would be Roasted Chickpeas Creole Style made with the Tony Chachere’s Creole Seasoning I had picked up a few months ago but never opened.

Tony Chachere's Creole Seasoning

Before serving new dishes to guests I always make a batch beforehand as a test, so I can work out all the ‘kinks’ in the recipe and not subject someone to a dish before it has been perfected.

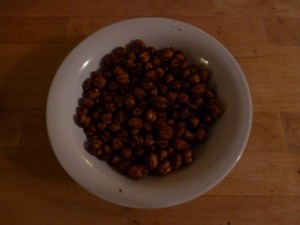
To make this recipe I took two cups of the cooked, dried chickpeas I had stored in the refrigerator from making the last batch, and tossed them in a mixture of two tablespoons peanut oil and one tablespoon of Tony Chachere’s Creole Seasoning.

I preheated the oven to 425 degrees, spread the chickpeas on an oven pan, and baked in five minute intervals until the became crispy (about twenty minutes). Be careful not to over toast them, which is easy to do and will ruin them.

Here is the recipe:

ROASTED CHICKPEAS – CREOLE STYLE

Ingredients
2 c Chickpeas, cooked and dried*

2 T Peanut oil
1 T Tony Chachere’s Creole Seasoning

Instructions
Toss chickpeas in oil and seasoning mixture. Spread in one layer on baking sheet and bake at 425 degrees until crispy, stirring every five minutes – about fifteen to twenty minutes.

There are several ways this recipe is significantly different than how I made my other chickpea snacks: these are made with Peanut Oil, not Olive Oil. Also, I roasted them at a higher temperature for a shorter period of time (about half).

*For the method how to cook and dry the chickpeas, see my previous blog Roasted Chickpea Snacks.

I had never used, or even tasted, Tony Chachere’s Creole Seasoning before this and after having used it and tasted it I can understand why it is so popular for easily creating dishes with an authentic Creole flavor. However, be careful using it, especially the first time, because it is very salty.

Roasted Chickpea Snacks

Roasted Chick Peas - Spicy

Holiday time is party time and party time means snacks. Although I appreciate Chickpeas (Garbanzo Beans) and have used them in a number of dishes over the years including Hummus, I had never tried them roasted before. In my repertoire of snacks are a number of variations using peanuts, almonds, pecans, etc. and now I have added roasted Chickpeas to the mix. They are lower in fat than nuts and have a significant amount of insoluble fiber which is good for the digestive system.

People in some parts of the world eat Chickpeas every day. Not only are they a healthier snack option for you and your guests, they just might be a great conversation starter. More information about the health benefits of Chickpeas can be found on the World’s Healthiest Foods website.

Here’s how I made these:

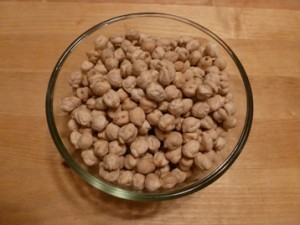
The main ingredient in this snack is the Chickpeas themselves, which must be cooked in order to change their physical composition into a crunchy snack. You could use canned Chickpeas, but I preferred to make them freshly prepared from dried. My favorite place in Houston for purchasing dried legumes is a place on Westheimer called Phoenicia.

Dried Chick Peas

I took two cups of dried Chickpeas, placed them in a pot, covered them with water and brought to a boil. Then I turned down the fire and simmered for three hours, until they were tender. Next I drained them, spread them out on oven sheets and baked them at 350 degrees for 30 minutes to get them dry enough to accept the coatings (stirring every 10 minutes). This produced about five cups of cooked oven dried Chickpeas.

Then I added them to the following recipes:

ROASTED CHICKPEAS – HUMMUS

Ingredients
1 c Chickpeas, cooked and oven dried

1 T Tahini
1 T Olive oil
1 t Garlic powder
1/2 t Salt, Kosher

Instructions
Mix coating ingredients in a bowl, add Chickpeas and stir to coat. Spread in one layer on an oven pan and bake at 350 degrees for 40-50 minutes, until crispy. Be careful not to let them burn.

Roasted Chick Peas - Hummus

ROASTED CHICKPEAS – SPICY

Ingredients
1 c Chickpeas, cooked and oven dried

1 T Olive oil
2 t Chili powder
1 t Garlic powder
1 t Red pepper (Cayenne)
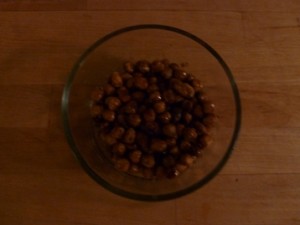
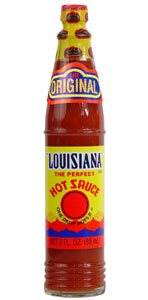
1 t Louisiana Habanero Hot Sauce
1/2 t Cumin
1/2 t Paprika
1/2 t Salt, Kosher

Instructions
Mix coating ingredients in a bowl, add Chickpeas and stir to coat. Spread in one layer on an oven pan and bake at 350 degrees for 40-50 minutes, until crispy. Be careful not to let them burn.

Louisiana Habanero Hot Sauce

ROASTED CHICKPEAS – WASABI

Ingredients
1 c Chickpeas, cooked and oven dried

1 t Wasabi paste
1 t Peanut Oil
1 t Soy Sauce

Instructions
Mix coating ingredients in a bowl, add Chickpeas and stir to coat. Spread in one layer on an oven pan and bake at 350 degrees for 40-50 minutes, until crispy. Be careful not to let them burn.

ROASTED CHICKPEAS – SRIRACHA

Ingredients
1 c Chickpeas, cooked and oven dried

2 t Sriracha sauce
1 ½ t Peanut Oil
1 t Rice Vinegar
½ t Kosher salt
½ t Red Pepper
¼ t Garlic powder

Instructions
Mix coating ingredients in a bowl, add Chickpeas and stir to coat. Spread in one layer on an oven pan and bake at 350 degrees for 40-50 minutes, until crispy. Be careful not to let them burn.

These recipes provide you with several options for different tasting Chickpea snacks depending on your personal preferences and those of your guests. Roasted Chickpeas lend themselves to a variety of seasoning combinations. We at Lukewarm Legumes will be experimenting with different flavoring blends for this snack in our Test Kitchens and will be posting our findings right here, so stay tuned.

Fat and Sugar Free Chocolate Cake

Ever dreamt of trying a truly decadent dessert which you wouldn’t later regret eating? This chocolate cake recipe was inspired by a friend of mine who cannot have sugar and has to limit fats in her diet (but loves sweets). Most recipes for sinless, guiltless chocolate cake are either low/non fat OR sugar free, but it is very difficult to find a fat AND sugar free recipe that works. This is because sugar and fat contribute a lot to the structure of the final baked cake.

Fat and Sugar Free Chocolate Cake

Not only is this chocolate cake enjoyed by those who are watching their intake of fats and sugars, but also by everyone who has tried it. It’s always a big hit at the office parties where it has been served. I’m sure you will enjoy it too, whether you need to cut back or not.

Here is how I make it:

FAT AND SUGAR FREE CHOCOLATE CAKE

Ingredients
1 c Milk, nonfat
2 Eggs
½ c Applesauce, unsweetened
2 t Vanilla

1 ¾ c Flour
2 ¼ c Sucralose (Splenda)
¾ c Cocoa powder, unsweetened
1 ½ t Baking powder
1 ½ t Baking soda
1 t Salt

1 c Water, boiling

Instructions
Preheat oven to 350. Coat a 9 x 13 baking pan with cooking spray.

Blend eggs, milk, applesauce and vanilla in a large mixing bowl.

Combine dry ingredients and add to liquid mixture. I recommend using Dutched Cocoa if possible. That and the boiling water contribute to the deep dark brown chocolate color of this cake giving the impression of richness.

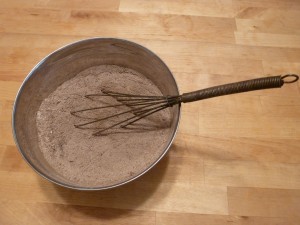
TIP: I often use a large French Whisk to mix dry ingredients. While accomplishing the mixing, it also helps break up large chunks of dry ingredients and is easy to clean afterwards.

Dry Ingredients

Beat with electric mixer at medium speed for two minutes.

Stir in boiling water slowly and mix thoroughly.

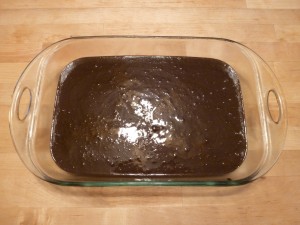
Pour into pan (it will be very watery, but this is normal), place in oven and bake for 30-35 minutes or until a toothpick inserted in the center comes out clean.

  Cake Batter

Cool completely if you will be icing the cake, which I recommend. I don’t recommend removing this cake from the pan to serve as its structure is very fragile.

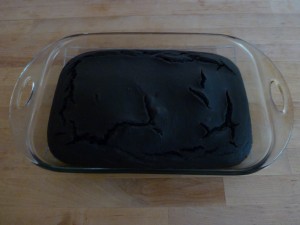
As you can see from the following image, it is normal for this cake to have cracks after baking. That this cake has no fat or sugar also accounts for the reason it does not rise as much as a regular cake. The standard method for making cakes from scratch is to use the Creaming Method.

In the Creaming Method the sugar and fat (butter for cakes) are first blended together. The purpose of this blending is not primarily to soften the fat, but to add air bubbles. Then the leaveners (Baking Powder and Baking Soda) create the gases which cause those bubbles to expand. These bubbles are responsible for the final texture of the cake. Additionally, butter (which this cake does not have) contributes to the ‘moistness’ of the cake, which helps hold it together.

After Baking

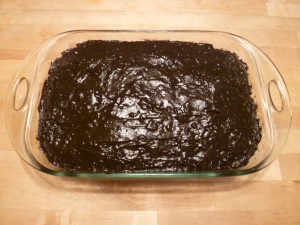
It is because this cake has a tendency to form cracks that I recommend it be frosted, especially if you will be serving it at a party. Frosting, at least in cake baking anyway, covers a multitude of sins. 🙂

Here is the recipe I used for frosting the cake. It is essentially a thick chocolate pudding and although it does call for adding one tablespoon of butter, that amount of fat is pretty negligible in comparison with the composition of the cake as a whole.

SUGAR FREE LOW FAT CHOCOLATE ICING

Ingredients
½ c Cocoa powder, unsweetened
4 T Corn starch
1 c Sucralose
1/4 t Salt

2 c Milk, nonfat

1 T Butter
2 t Vanilla

Instructions
Mix together cocoa, corn starch, sucralose and salt. Add milk slowly and stir. Cook until thickened, stirring continuously. Add butter and vanilla. Cool, and then spread on the cake.

Perfect Popped Popcorn

I don’t know about you, but I love popcorn. So does my household. I have been using a technique for years to make popcorn that always gets rave reviews. One of the secrets is to facilitate the release of the steam produced in the process away from the popped corn. This results in a much lighter and crisper popped corn.

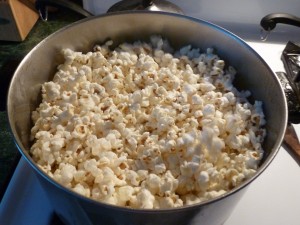
Popped Popcorn

Popcorn is a whole grain healthy snack providing fiber, antioxidants, protein, B vitamins & minerals, and includes polyphenols similar to that contained in fruits and vegetables which could help reduce the incidence of heart disease and cancer. Its nutritional value can be fortified by sprinkling it with Parmesan Cheese, which provides additional protein and calcium. Another use is to make it part of a snack mix including dried fruits, nuts, and unsweetened cereal. Plus popcorn can be used to make popcorn balls for your next party.

Here is my method:

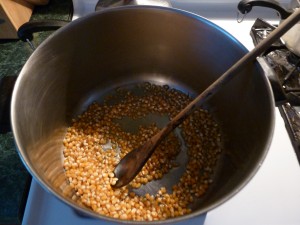
Popcorn and Oil

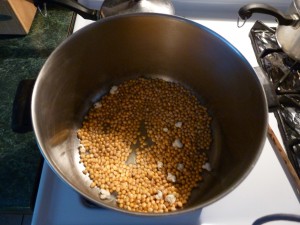
First place two to four tablespoons of vegetable oil (I like to use corn oil) in a large pot with one cup of popcorn kernels. Over medium high heat stir the popcorn and oil mixture until the kernels begin to pop (stirring helps to evenly heat the kernels and help popping). Even though you might have to deal with a few flying kernels of popcorn using this method I think you’ll find it well worth the trouble. Another tip with popping corn is to make sure you have the heat high enough, or the kernels will not pop properly.

Popcorn Starts Popping

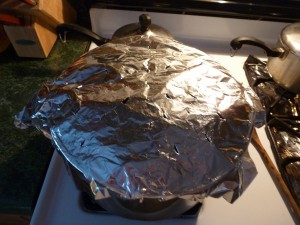
Once the kernels begin to pop, cover the pot with a sheet of aluminum foil that has slits cut into it to allow for the release of steam. At the point the corn has popped enough to prevent the kernels flying out of the pan, uncover the popcorn and allow it to completely pop.

Covered Popcorn

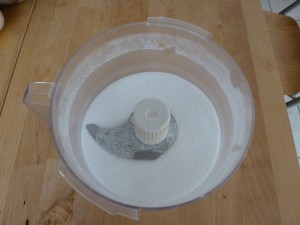
If you like to salt your popcorn, you don’t need to purchase popcorn salt, which can be relatively expensive, but can easily make your own by placing a cup or two of regular table salt into your food processor and processing until it becomes a very fine powder.

Popcorn Salt