Oster Beef Jerky Kit – Review
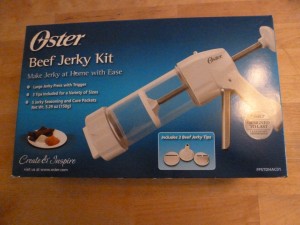
For Christmas last year I received several very nice presents from someone close to me who knows how much I love to entertain and prepare foods. One of those presents was an Oster Beef Jerky Kit.
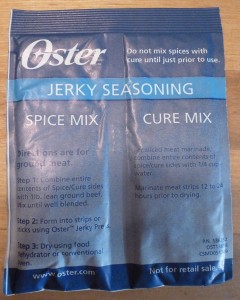
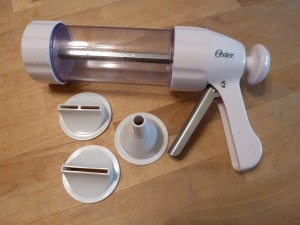
On the box it states this device will allow you to “Make Jerky at Home with Ease.” The kit includes a Large Jerky Press with Trigger, 3 tips for a variety of sizes, and 5 Jerky Seasoning and Cure Packets. I suspect there may have been an ulterior motive with this present since the giver and I go camping together.
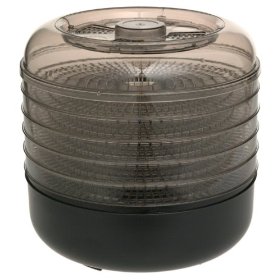
After borrowing a food dehydrator for the purpose, I finally decided to try my hand at making my own jerky. The instructions were very straightforward and the kit has everything needed to make jerky except for the meat.
An advantage to making jerky using the press is that you use ground meat rather than purchasing whole pieces and slicing them. This makes the process both easier and less expensive plus the seasonings permeate the meat without having to wait for it to marinate.
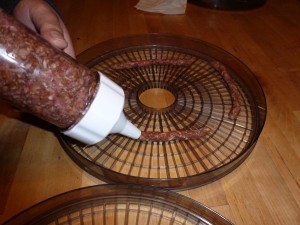
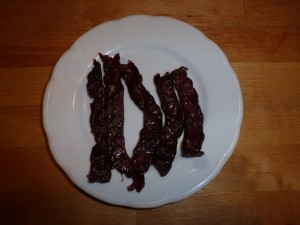
The process is very straightforward. Simply blend the ground meat with the ingredients in the seasoning packet (spices and cure), load the meat into the press, select the tip you want, and squeeze. The ‘soon to be’ jerky is extruded out the end in the shape you have determined, whether it is narrow or wide strips, or a round stick.
I recommend extruding right onto the dehydrator trays to minimize handling. Making a nicely shaped piece of jerky takes some skill which for me I think may take some time. It requires a steady hand and careful moving of the press as the meat comes out the end.
When the plunger in the press is extended to its farthest point there will still be enough meat in the tip to make more jerky. At this point you can disassemble the press and force it out of the tip manually. Or simply remove the meat from the press, roll or pat it with your hands into the desired shape, and place on the dehydrator tray.
Stack the trays in the dehydrator, plug it in, and let it do its work. Depending on the dehydrator, the thickness of the meat, and the amount of moisture needing to be extracted, the drying process can take from 4 hours to overnight.
Check the instructions on your dehydrator for the manufacturer’s recommendations and safe food handling information which will vary depending upon which type of ground meat you are using.
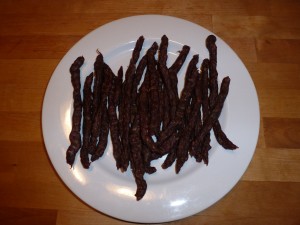
For this jerky I used lean ground beef, although you can use any kind of ground meat. Just make sure you are familiar with safe food handling practices for the kind of meat you are using as some require heating the jerky to a certain temperature even after drying and refrigerating until serving. For the batch of jerky sticks I added 1/2 teaspoon of cayenne pepper to the seasoning to give it an extra ‘kick.’
You don’t have to limit yourself to the seasoning packets available through Oster. After doing some research you can experiment with your own seasoning combinations. However, I can’t stress this enough – make sure you are aware of and observe safe food handling practices for the type of meat you are using.
Buying jerky can be very expensive and making it the conventional way can be difficult, time consuming, and costly. I found using the Oster Beef Jerky Kit for making my own jerky to be easy, quick, and inexpensive. As far as quality in comparison to packaged jerky purchased from the store, I found the jerky made using this method to be comparable.
You might expect jerky made from ground meat to be crumbly and unstable, but this process actually produces jerky of much the same texture as that cut from solid pieces of meat. For anyone who loves to eat jerky, and is willing to put in a little effort to save a significant amount of money, I highly recommend the Oster Beef Jerky Kit. It delivers what it promises by allowing you to “Make Jerky at Home with Ease.”

